Note:
Please note that this is not by any means an official way to animate an object in Gmax. I just read a few help documents and let my self-intuition go from there. If I am not mistaken, there are many ways to animate, each with there level of detail and complexity. Remember that Gmax is not intended only for FS so many features might not be needed in doing this as opposed to making an animation for another type of video game.
Step1: Create what you need in FSDS.
Since most of us are hooked on FSDS, there’s no rule that says we can’t make an aircraft in FSDS then just export into Gmax all the time from FSDS. All it means is getting used to a little more work.
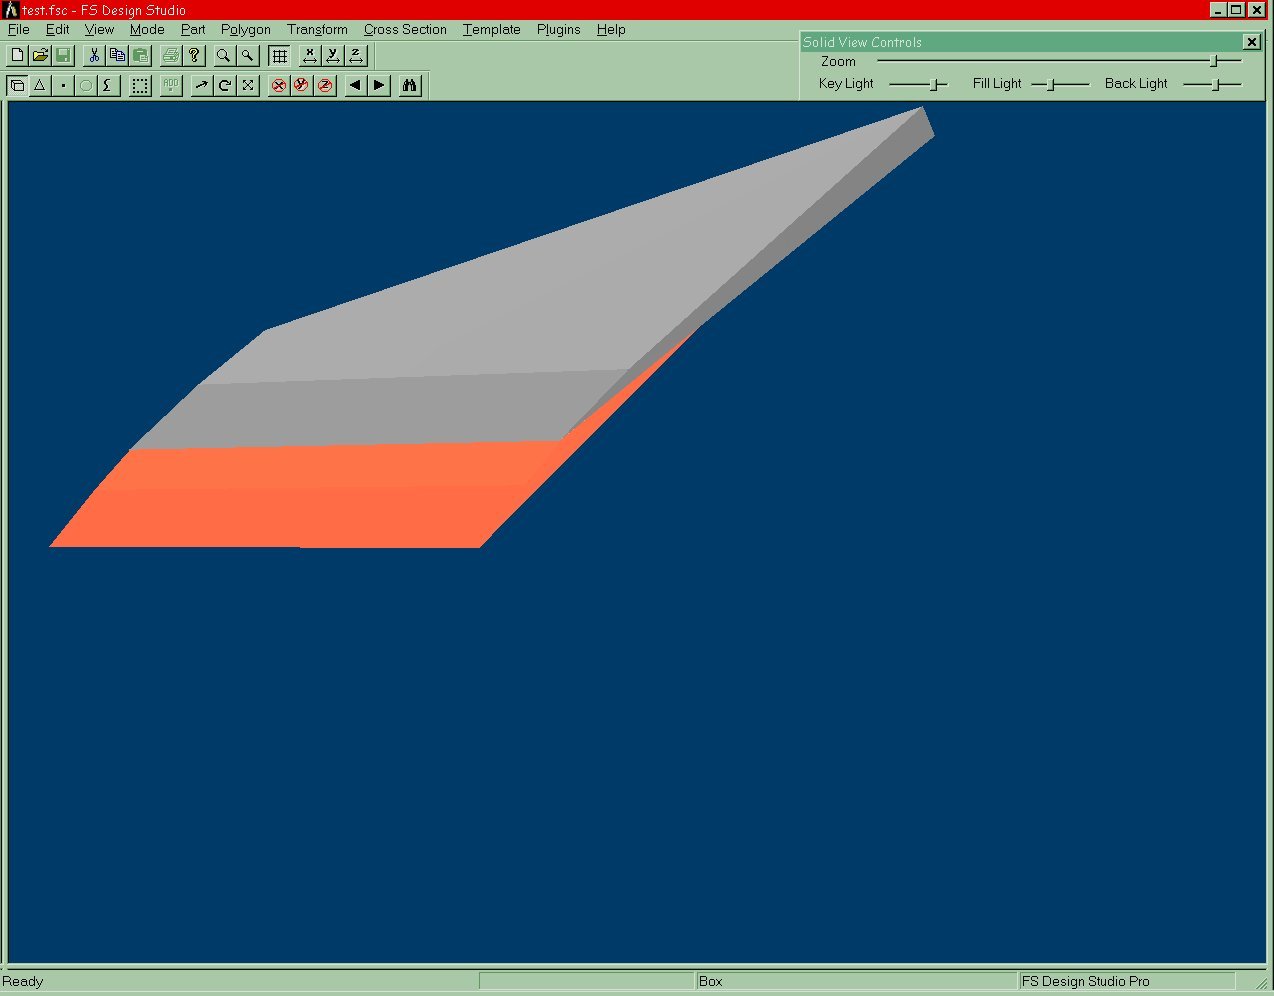
For this tutorial I decided to go with the concept of the SLIDING FLAP other wise known as a Fowler Flap.
First create a simple wing as you would normally and make a flap that fits it nicely. (Look at my sample)
Notice how I have created two separate parts. The orange one is the flap which is made to be seen with ease.
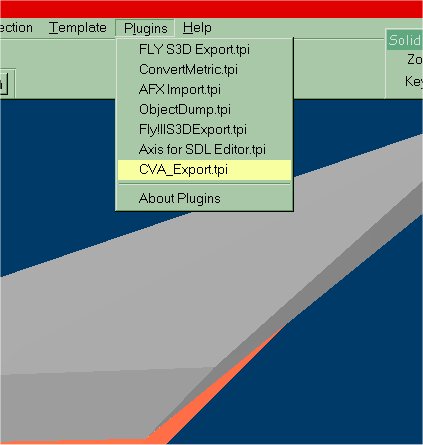
Step2: Export as .dxf format
For this you will have to go to the tutorial for DXF export in the Free Flight Design Shop Web page. It will give you all the tools you need to do this plus explanations.
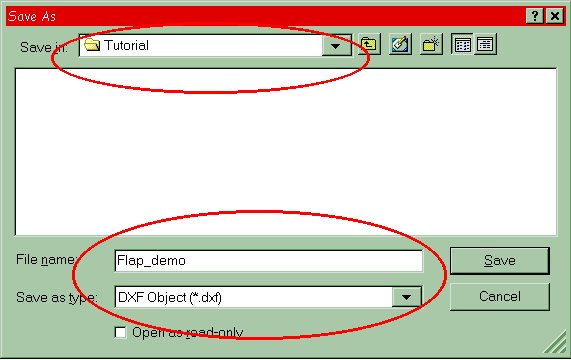
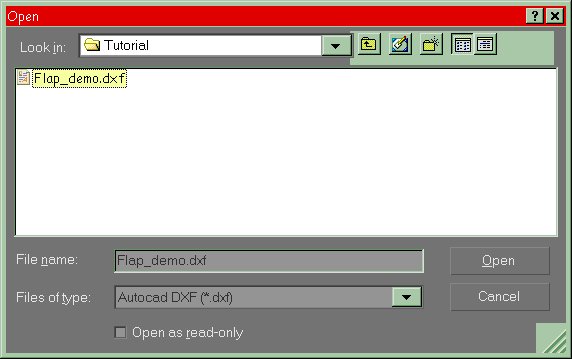
Save it as something you can remember in a directory you can remember (look below):
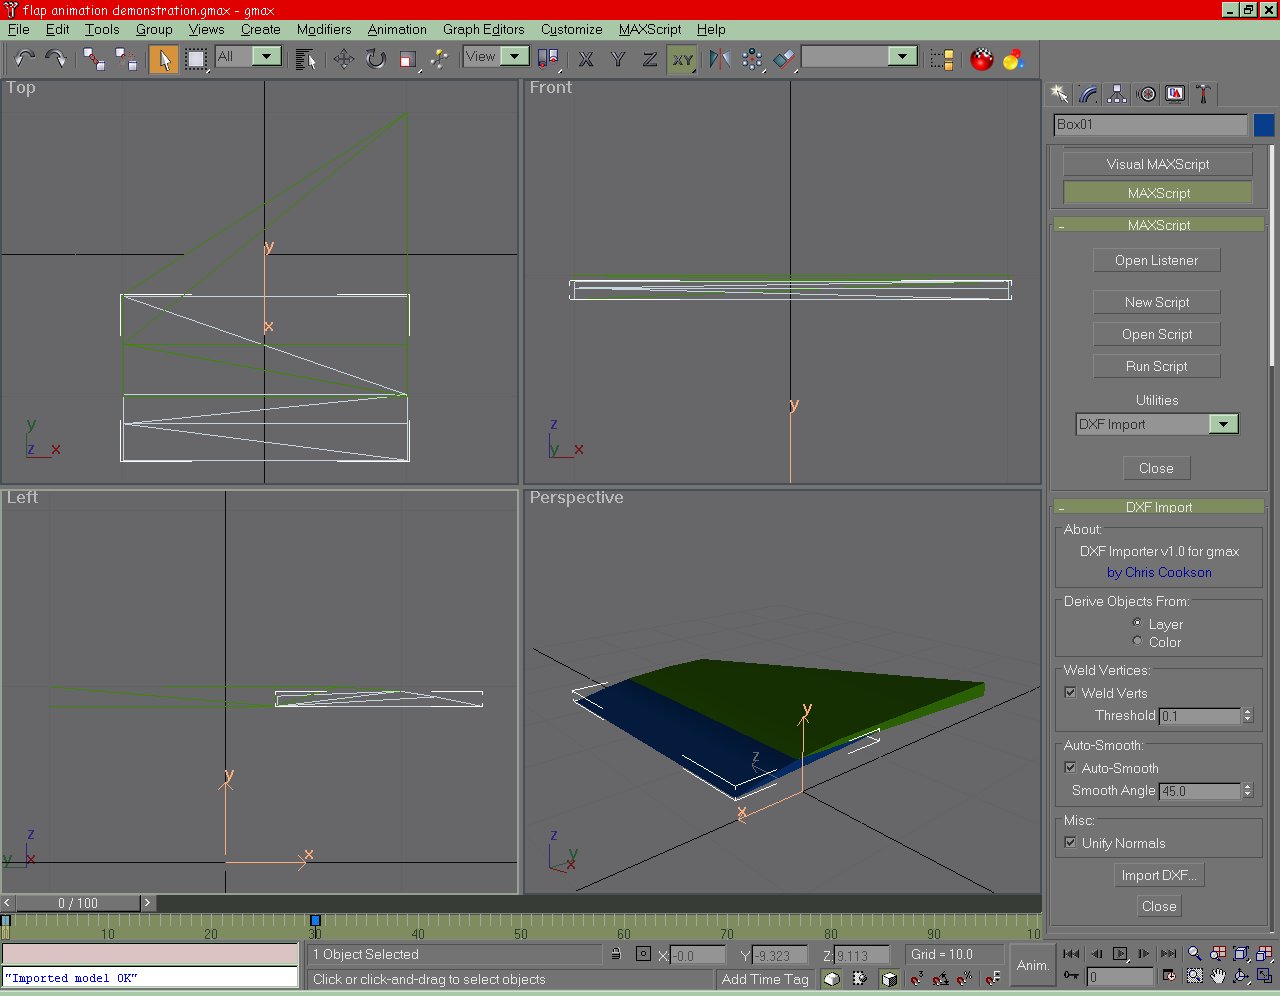
Step 3: Import .dxf file into GmaxNow for the good stuff. Open Gmax and run the DXF IMPORT in your Maxscript (also explained in the other tutorial). I will need to have downloaded that tool as well.
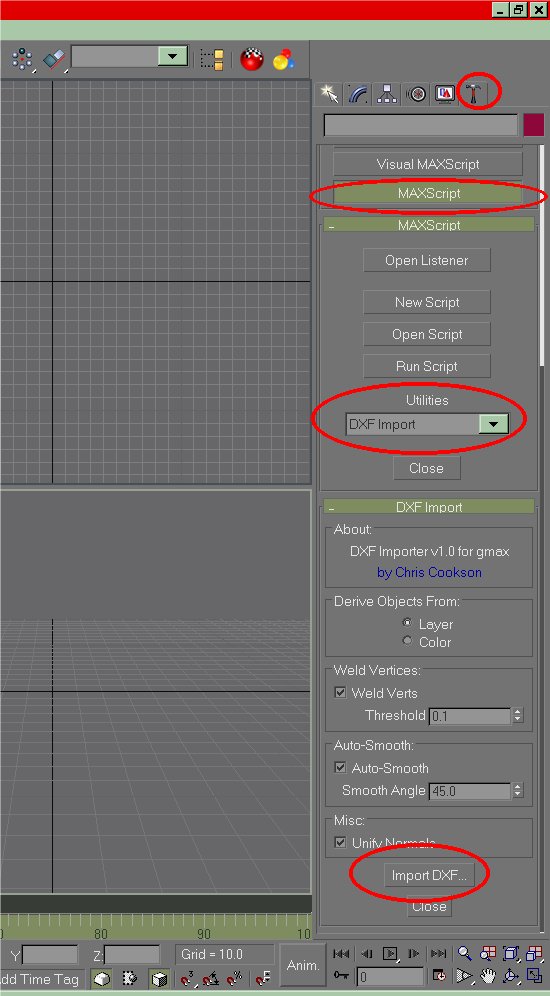
Import DXF and look for your file in the directory it was saved in:
Now for the better stuff…
Step 4: Animation time
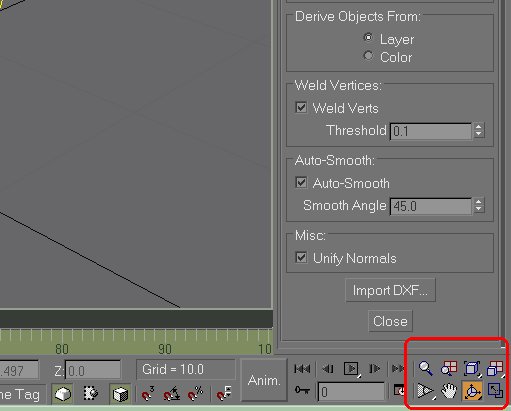
Before you start, if you want a better view…you can mess around with the controls (picture below) to give you a better view of what you are doing.
Now listen and listen carefully…
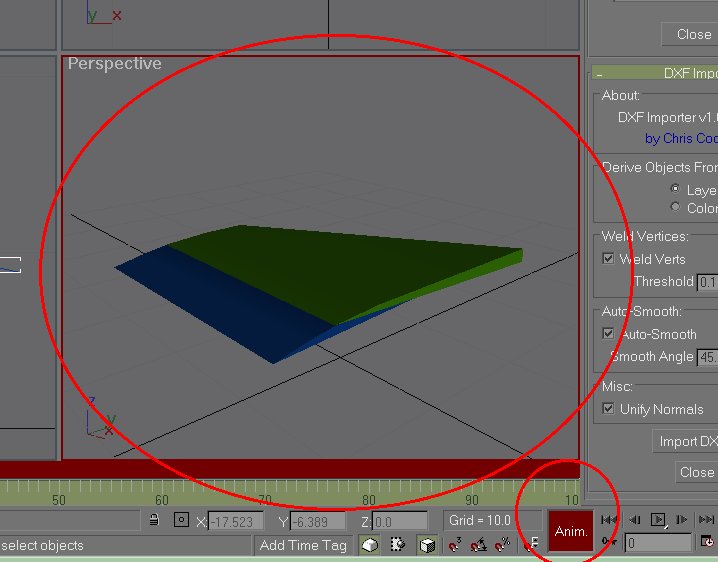
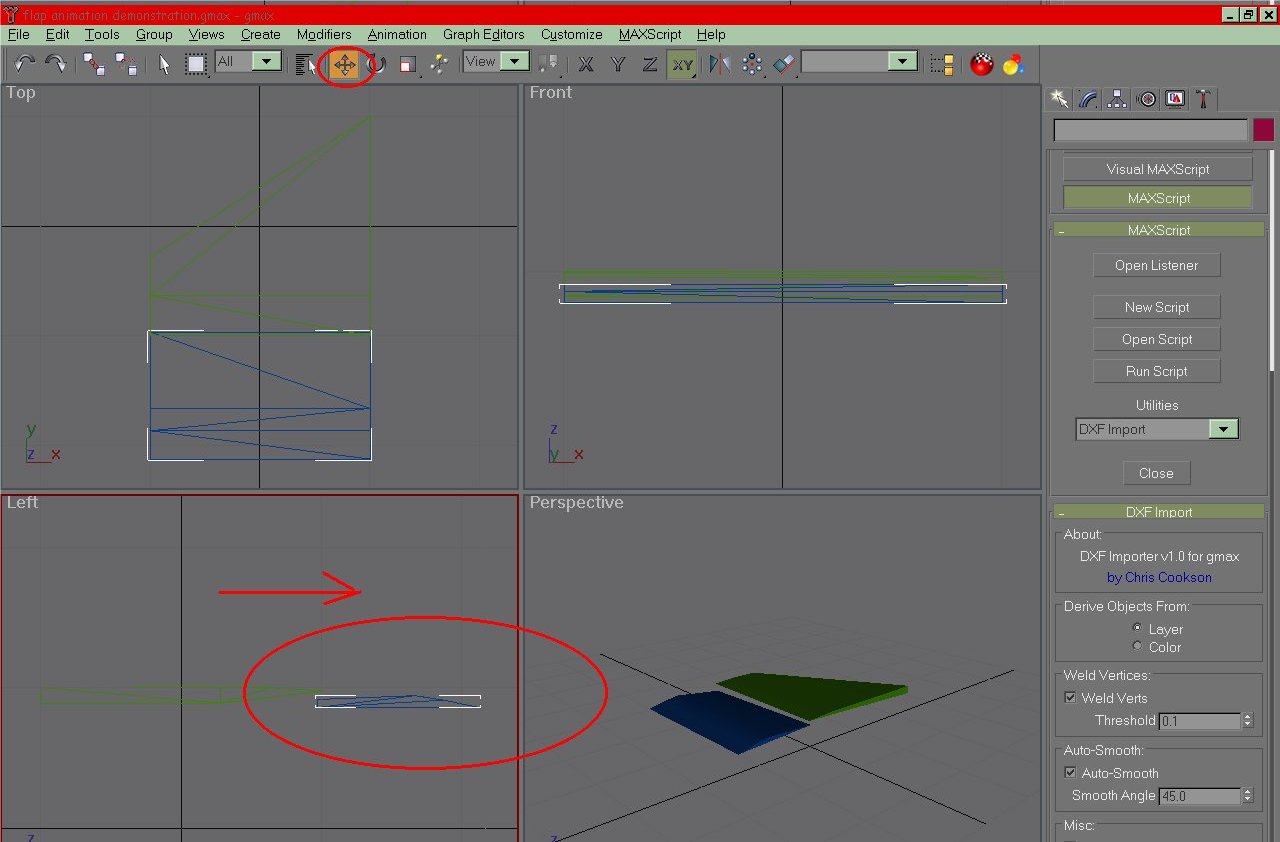
**Before animation you must click the animation button to turn on animation mode…parts that are moved, rotated, alter, etc in anyway after clicking this button will be processed an animation key. In other words, what ever you do to the model after clicking this button will be subject to animation later on. So be very careful what you move. The screen in use will have a RED border around it and the animation button will be RED to show that its activated.
After that is set we can proceed…
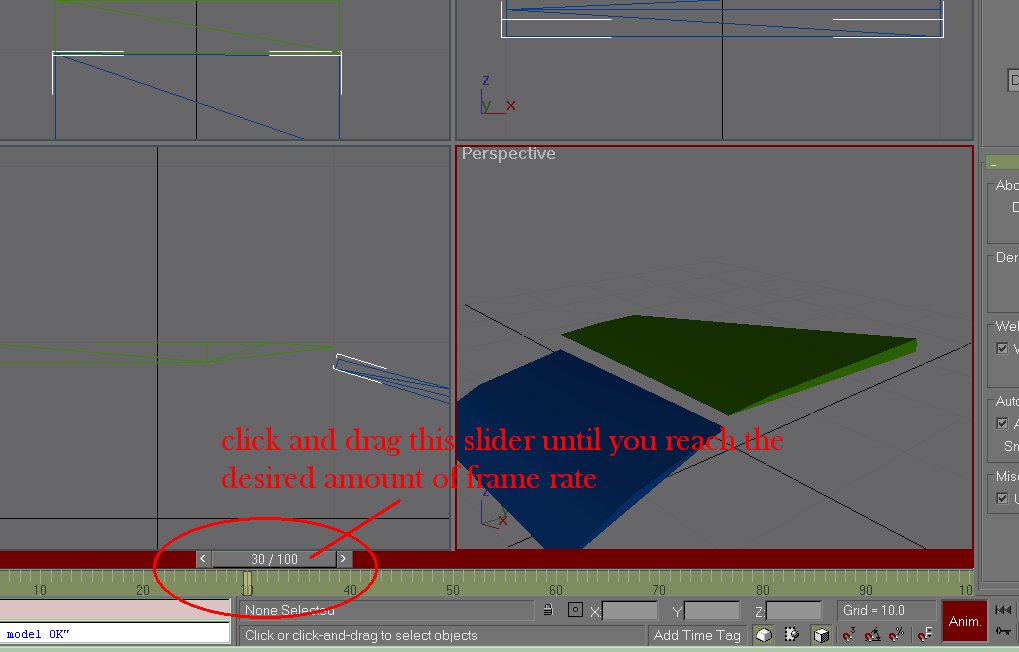
After the frame rates are set, you can begin to move the parts about.
To start simple, click on the part to be animated and drag it to where you want it to move to…
After that, click on the play button to see what happens…
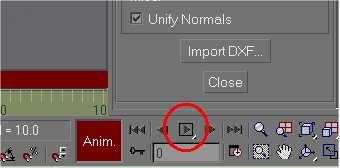
You should be able to see your part moving about in the path you set for it by moving it. The same can be applied with rotating. Every time you move the object and un click it, it sets it as a step. So for example, if you move the object a bit back, then rotate it a bit, then slide it back some more, it will animate it in that way. I guess the rest is up to the imagination.
Now my next goal is to tage parts properly.
Regards,
Lee
November 27, 2001